Shout Out for Bebe
Monday, July 30, 2012
Shabby Chic Union Jack Dress
Sunday, July 29, 2012
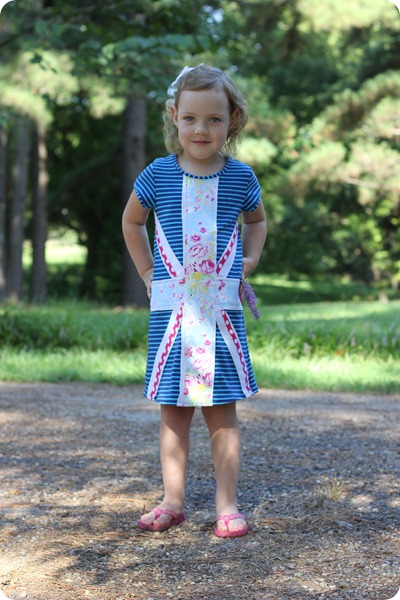
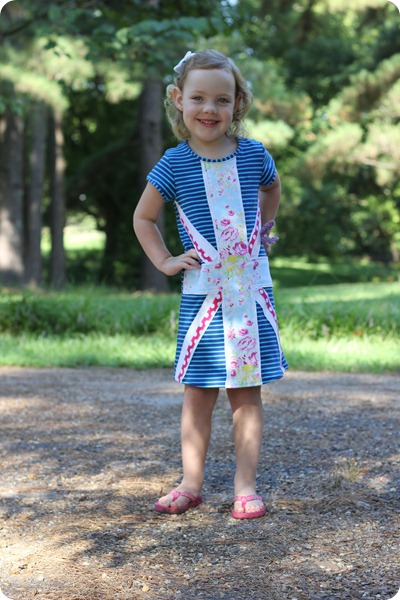
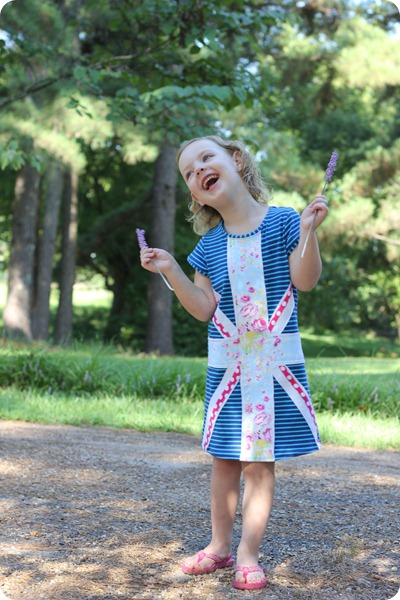
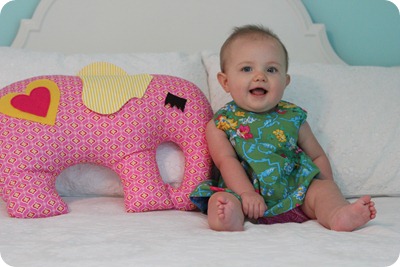
In honor of the Olympics (and an Olympic themed birthday party) I made Avery a Union Jack dress. And, here is our little game of “don’t you smile.”
Somehow she always manages to loose that game.
As for the dress, the main fabrics came from my sweet friend Jenny of Sew Pretty Dresses. She was SOOO generous sharing these amazing knits. The blue strip is a campan knit like you can find at Banberry Place. The stretch, recovery, and colors are over the top great, but I’ll give you a bit of a warning. These knits tend to roll up like crazy. A good hot/steamy press with some starch helps, but it may not lay perfectly flat regardless. I used the Modkid Style Bloom dress as my base and added the union jack as an applique. I narrowed up the bands for the sleeves and neck a bit just because I like a thinner look. Here’s our little shout out to the hosts of the Olympics. We are all have fun watching the events this weekend!
A Glimpse of Our Texas Trip
Friday, July 27, 2012
The girls and I started our trip in Dallas to visit my sister and her family. Ford took a day to warm up to us invading his space, but after that it was all fun and games. He is quite the swimmer at just under 2 years old, so we spent a ton of time splashing around in their pool.
Omie and Opa came to transport us to their ranch for the remainder of our stay.
Even bath time was more fun in the big tub at the ranch.
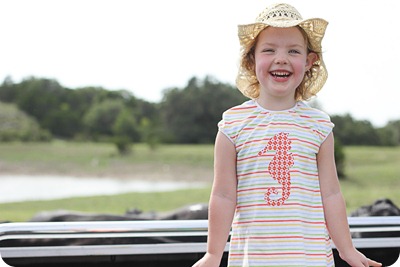
Avery loves joining Opa in feeding the cows.
I’m working on the next generation of Texas girls as much as I can even though we live in Mississippi!
Nine Months
Tuesday, July 24, 2012
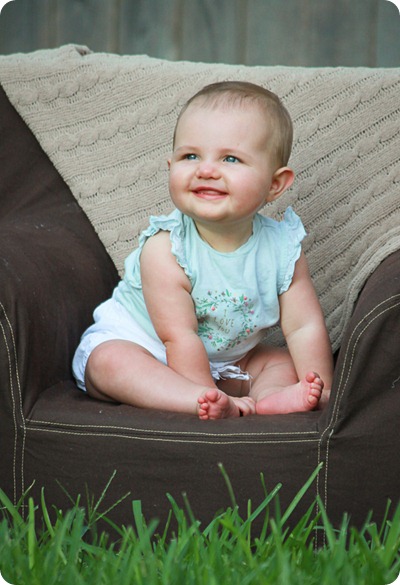
Slow and steady wins the race, right? I’m sitting up pretty sturdy these days, but still not on the go. I can roll around a good bit to get where I want. I’m a good eater even if I am a bit messy, and I won’t complain as long as you keep those puffs coming. My good sleeping habits have returned except when I’m away from my own bed. All in all, I’m just a happy camper.
Olympics Inspired Top and Pom–Tutorial
Tuesday, July 24, 2012
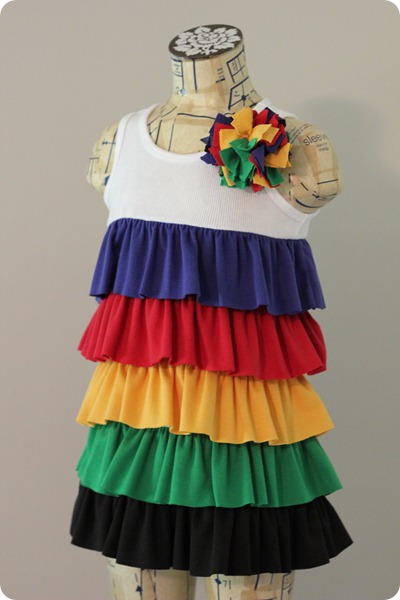
Molly’s 5th birthday is this weekend, and they are arranging an Olympics inspired “5 ring” birthday at a gymnastics center to celebrate. Our gift will be the birthday girl’s “ringed” top and accessory to wear for the day. I didn’t take photos of the process for the top, but I can give you the basics. I cut of the top part of a tank top from Old Navy. Then added rows of ruffled knit spaced with white knit segments.
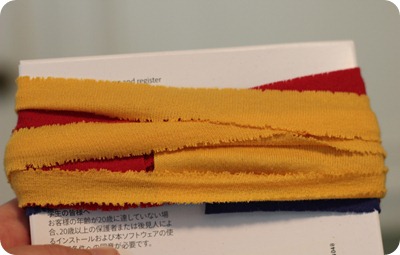
I do have a photo tutorial for the pom accessory, however. Cut 1”x 30” strips in each of the fabric colors. Then, wrap each strip tightly around a small box.
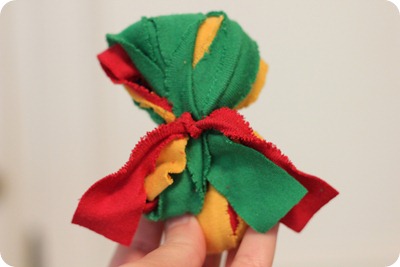
Carefully slide the loops off of the box and tightly tie a short piece of knit around the middle of the loops.
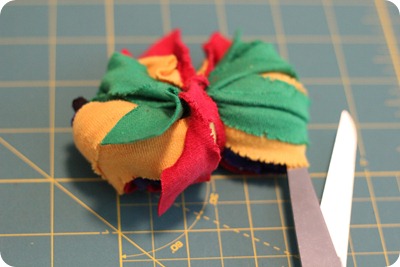
Insert your scissors into the ends of the loops and cut them.
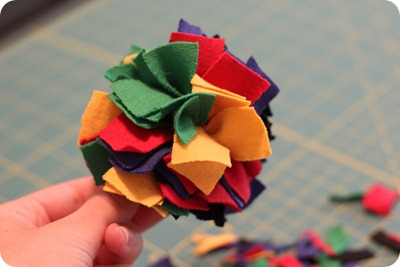
Trim away the ends until you have a nice round pom shape.
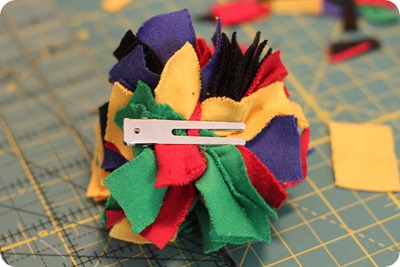
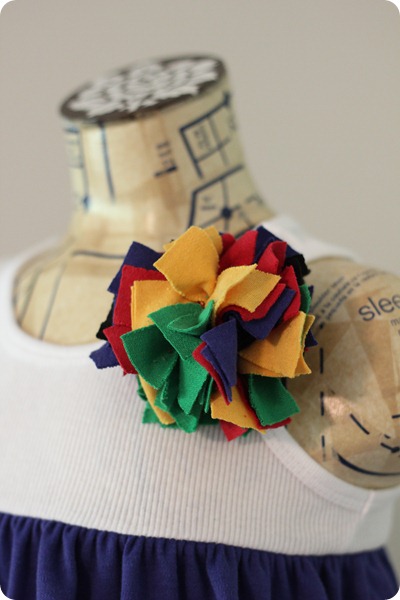
Slip a barrette in the loop you tied around the middle, and you are done! Edited to add: Add a dab of hot glue to secure the pom in place.
Wear it in your hair or clipped onto your clothing.
Scrap Happy Party Table Cover Tutorial
Wednesday, July 18, 2012
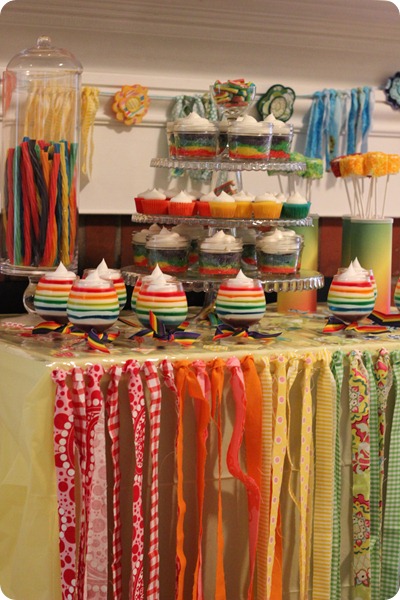
This Scrap Happy Table Cover is an easy way to customize any table for your party decor! It's also a great way to use up any left over fabric scraps.
Materials needed:
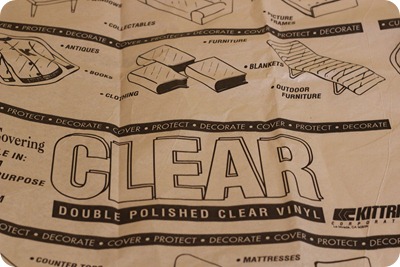
clear vinyl
1” x width of fabric, strips (the number of strips will depend on the size of your table)
hole punch
ruler
scissors
Start with some clear vinyl. I bought mine at Hobby Lobby, and it was sold by the yard. I think you can also buy it in packages at most craft stores.
Lay the clear vinyl out on your table top.
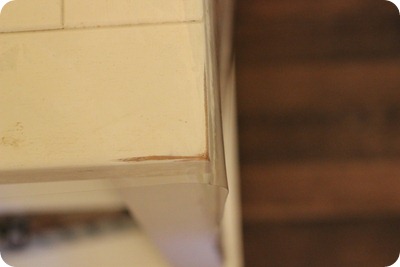
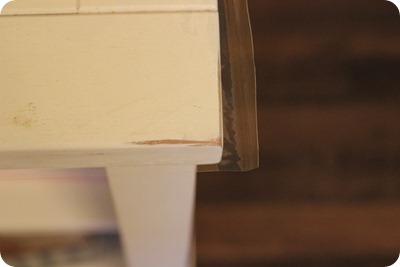
Cut the vinyl roughly 3/4” larger than your table surface. For my cover, I only applied strips to the front face of the table.
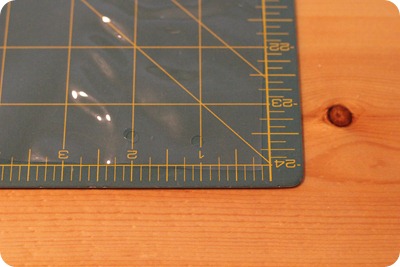
Punch holes in the vinyl at 1” intervals making the holes 1/2” from the edge of the vinyl. I used a crop-a-dile for punching these holes.
Fold the 1” strips of fabric in half lengthwise. Push the folded end down through the hole about 1”.
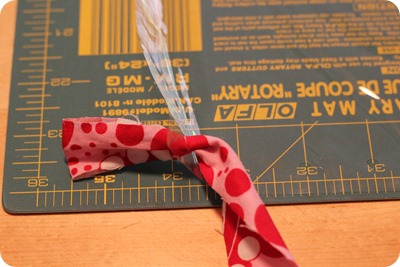
Pull the tails of the strip through the loop created by the folded end of the fabric strip.
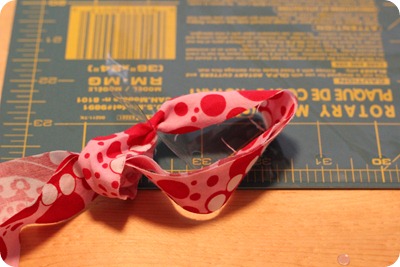
GENTLY, tighten the knot.
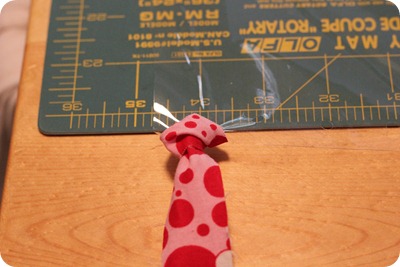
Repeat.
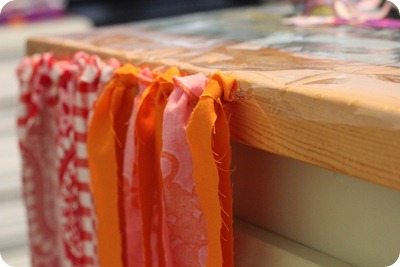
Trim the fabric ends as needed.
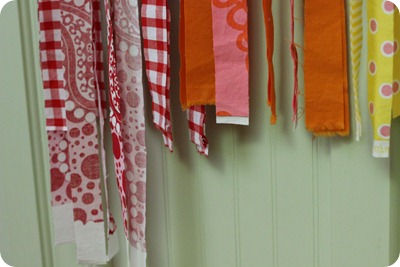
Once your vinyl piece is fitted for your table, you can easily remove and replace fabric strips to coordinate with any event. These table covers can be casual and bright with colorful cottons as shown or get a more sophisticated look with a solid muslin and a burlap underlayer. As an added bonus, you simply wipe the top clean.
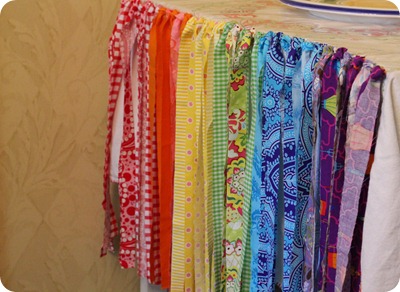
See more of the rainbow unicorn party here.
Rumba Ruffled Shorts Tutorial
Monday, July 16, 2012
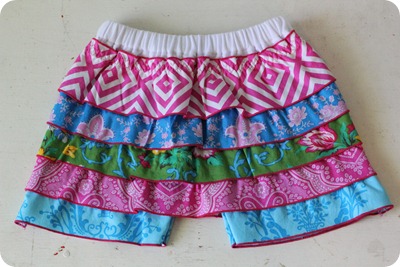
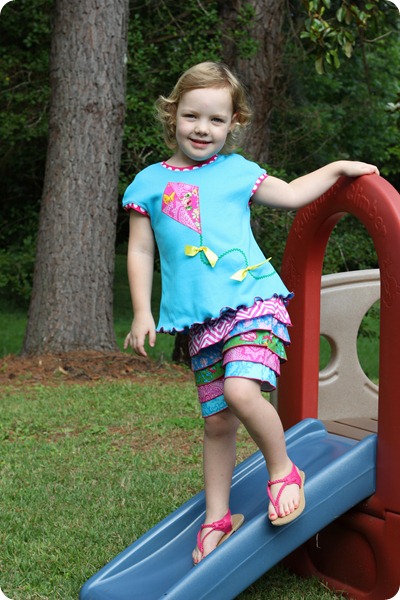
For the signature style challenge of Project Run & Play, I made this rainbow petti-romper. I used a pattern from Snazziedrawers for that piece, but I’ve used the same concept to make up shorts to share with you here. Check out the Snazziedrawers pattern for a great petti-romper! These instructions fit a size 4T, but once you read through the method, you should be able to adjust it to fit another size easily.
Materials needed in addition to typical sewing supplies:
1/2 yard of knit fabric
3” x width of fabric (~42”) strips (5 total)
3/4” elastic
straight edge & ruler
fabric marking pen
elastic thread
First, cut 2 panels of knit 12” high x 17” wide.
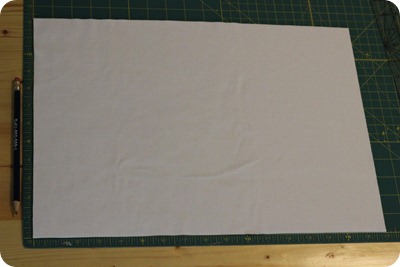
Lay the two panels on top of each other and find the center of the panels. Using a fabric marker measure and mark 5/8” over each way from the center. Also, mark 3 1/2” up from the center of the panel.
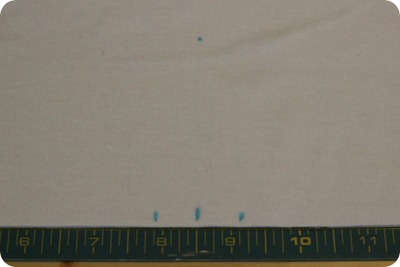
Draw a narrow curve using the marks you made as a guide for the crotch.
Cut the crotch out of both layers of fabric.
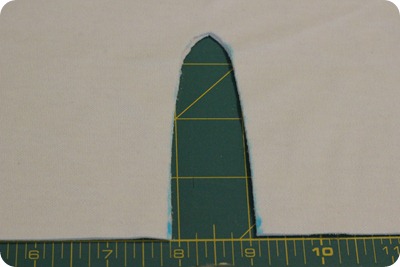
I like to press all of my casings and hems while the pieces are still flat, so here I pressed the top of the panel 1/4” down to the wrong side of the fabric. Then fold and press again 1” down. Repeat for each panel. This will form your elastic casing later. Do NOT stitch at this point.
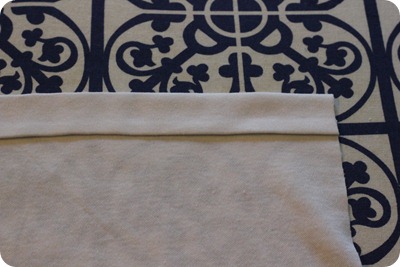
Next, fold and press a 1/4” hem at each of the shorts legs.
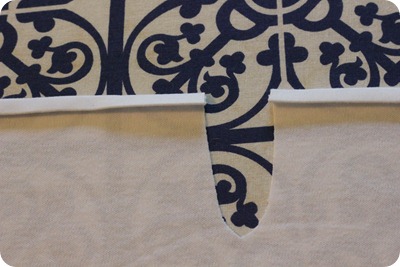
Stitch the hem in place using a ball point needle and a stretch stitch. (For more details on hemming with knits see Patty Young’s tutorials here.)
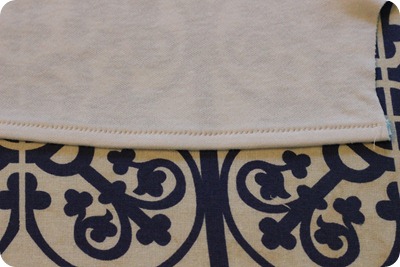
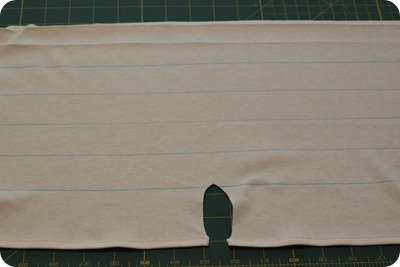
Unfold the pressed casing at the top of the panels. Measure down 2 1/2” from the top of the panel and draw a straight line on the right side of the fabric. Continue measuring and marking lines every 1 1/2” down the panel. Repeat for each fabric panel.
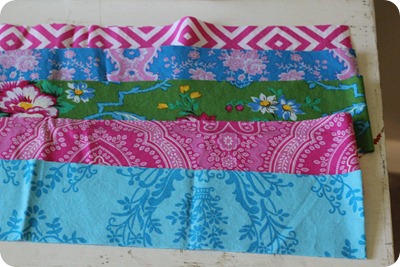
Cut 5 – 3” strips of fabric the width of the fabric (~42”).
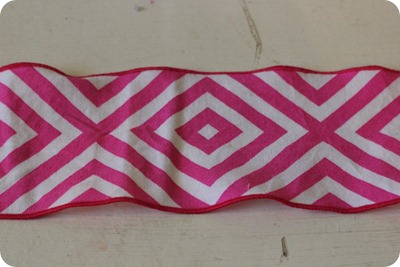
Finish the top and bottom edge of the strips. I used a rolled hem on my serger.
Cut the finished strips in half lengthwise. For the bottom strip, cut it in quarters. You should end up with 8 long strips (~21”) and 4 of the bottom strips (~10.5”).
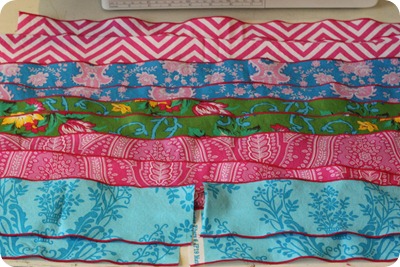
Hand wind your bobbin with elastic thread. If you need help with shirring (sewing with elastic thread) check out this tutorial over at Make It and Love It.
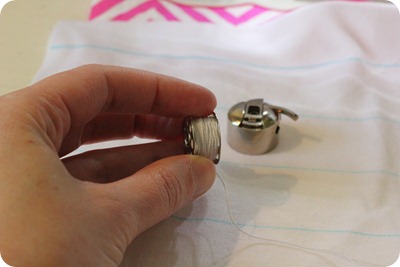
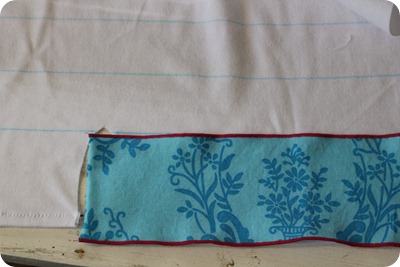
Starting at the bottom, line up the top of the short strip with the lowest marked line on the panel.
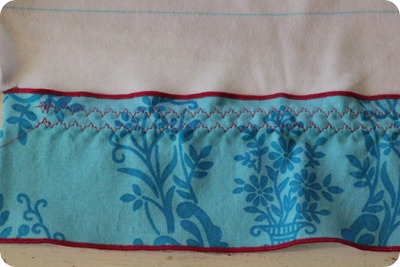
Sew two rows of shirred stitching 1/4” down from top of strip. Making the rows of stitching 1/4” apart. My machine has a special shirring stitch that looks like a funny zig-zag, but straight stitch works fine here too. Be sure to backstitch at the beginning and end of your shirred rows to secure the thread. Your strips will overhang the edges, and we will trim them later.
Continue attaching the strips on the other leg of the panel and up the length of the shorts. Repeat for the other panel. Attach each strip with two rows of stitching.
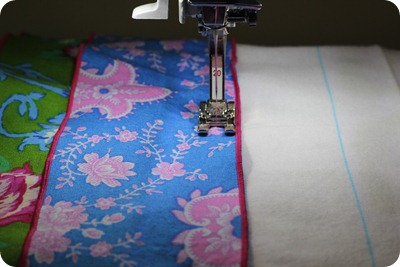
Now is a good time to trim up those overhanging strips. Just line them up with the edge of the knit panel.
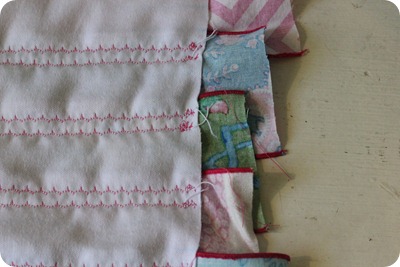
Pin up the ruffle above the crotch to keep it out of the way. Trim up the crotch strips.
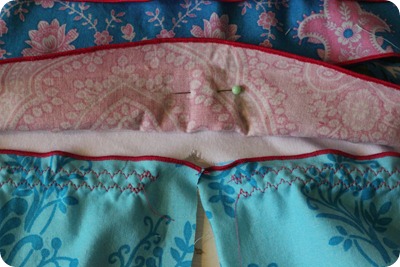
Pin the front and back panels right sides together at the crotch and sew a 1/4” seam.
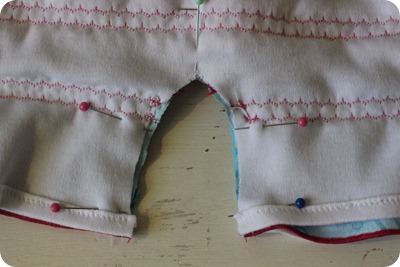
Be sure the casing at the top of the panels is still unfolded. Pin the front and back panels at the side seams with right sides together and sew a 3/8” seam. Use caution to catch and align each ruffle strip as you sew up the side seams. Finish the edges.
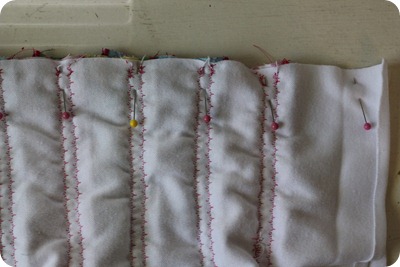
Re-fold and press the casing. Sew up the casing close to the inner folded edge leaving a 2” opening. Cut a length of 3/4” elastic 1” smaller than your waist measurement (18 1/2” for mine.) Using a safety pin thread the elastic through the casing.
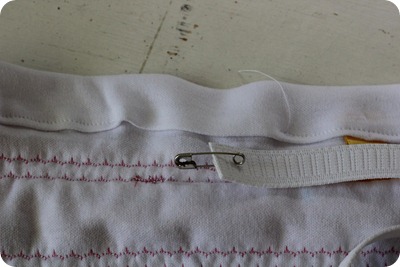
Overlap the ends of the elastic, and sew them together with a zig-zag stitch. Then, close the casing.
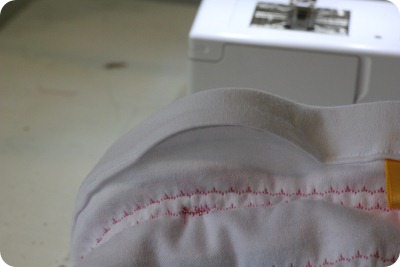
Steam press the shorts to get the elastic thread to shrink up a bit leaving pretty ruffles behind. All finished!!
